How to use Market metrics
It's very important to set the Market metrics filters properly when searching for rates in Xeneta, as this helps you make sure that you see rates only from the most relevant segment of the air freight market.
In this quick guide, we will walk you through all available Market metrics and briefly explain what's behind each one of them to help you understand how they affect your rate search results.
Step 1. Go to Market overview
Navigate to Market overview where you can find our rate search tool along with Market metrics.

Step 2. Select contract type
Click on the first available market metric filter to select the Contract option that allows you to select if you want to see rates from all long-term contracts, or only from the ones that have been signed within the last three months — this is especially useful if you only want to see the "freshest" market rates.

Step 3. Select service level
Click on the second filter to select the Service level option that defines the pricing tier of the searched rate — from standard to more premium.
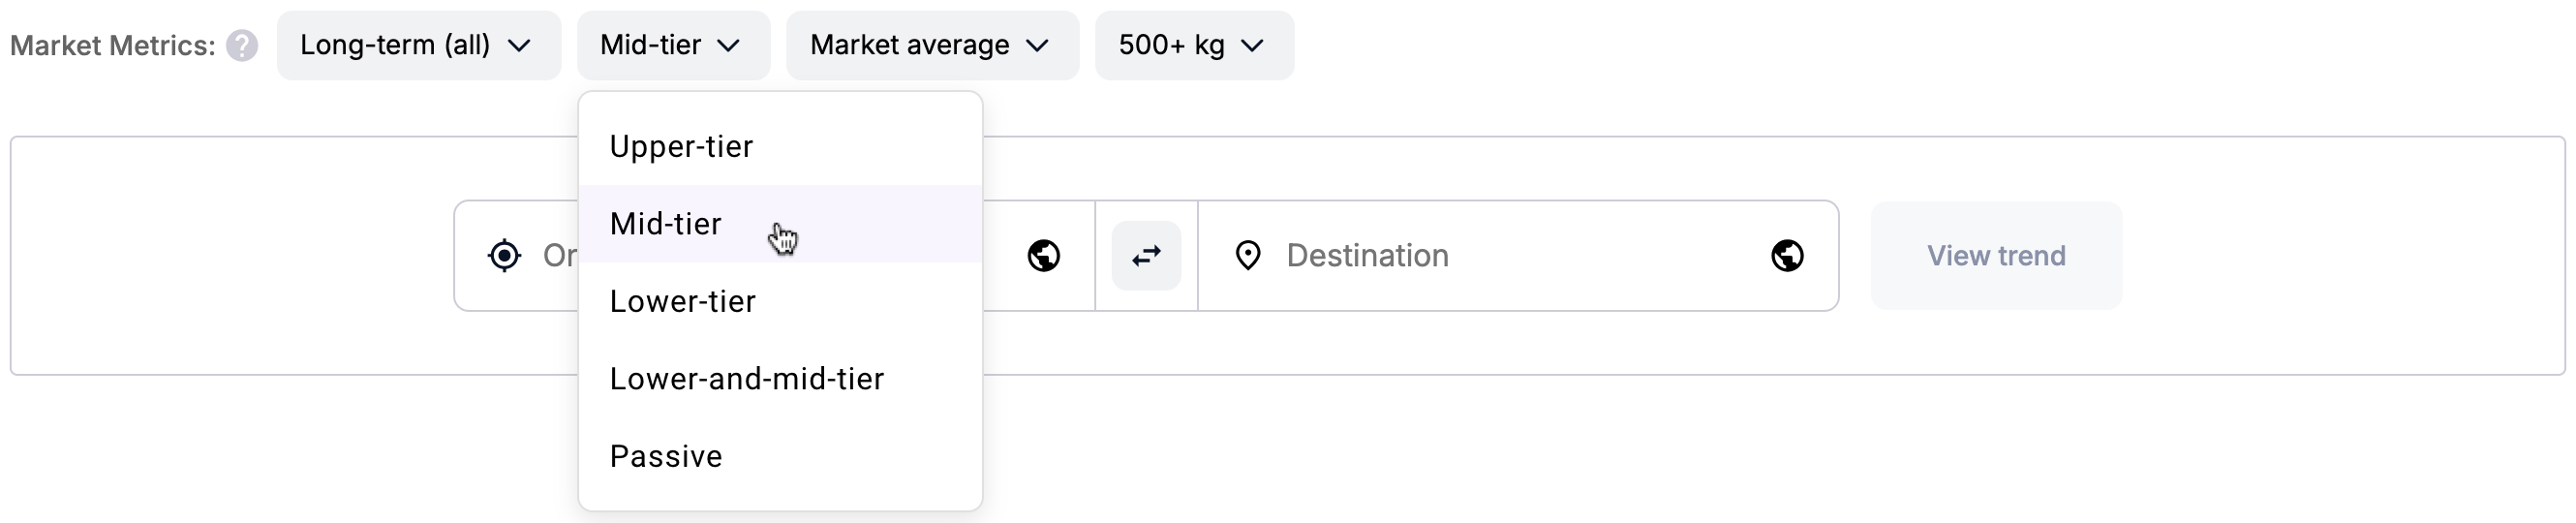
The Passive service level is reserved exclusively for rates on temperature-controlled cargo.
Step 4. Select market segment
Click on the third filter to select the relevant Market segment, which allows you to select a specific slice of the air rate market.

For example, selecting Market average will show the average rate across the entire market, while selecting Market high or Market low will display the rates from the very top and bottom of the market respectively.
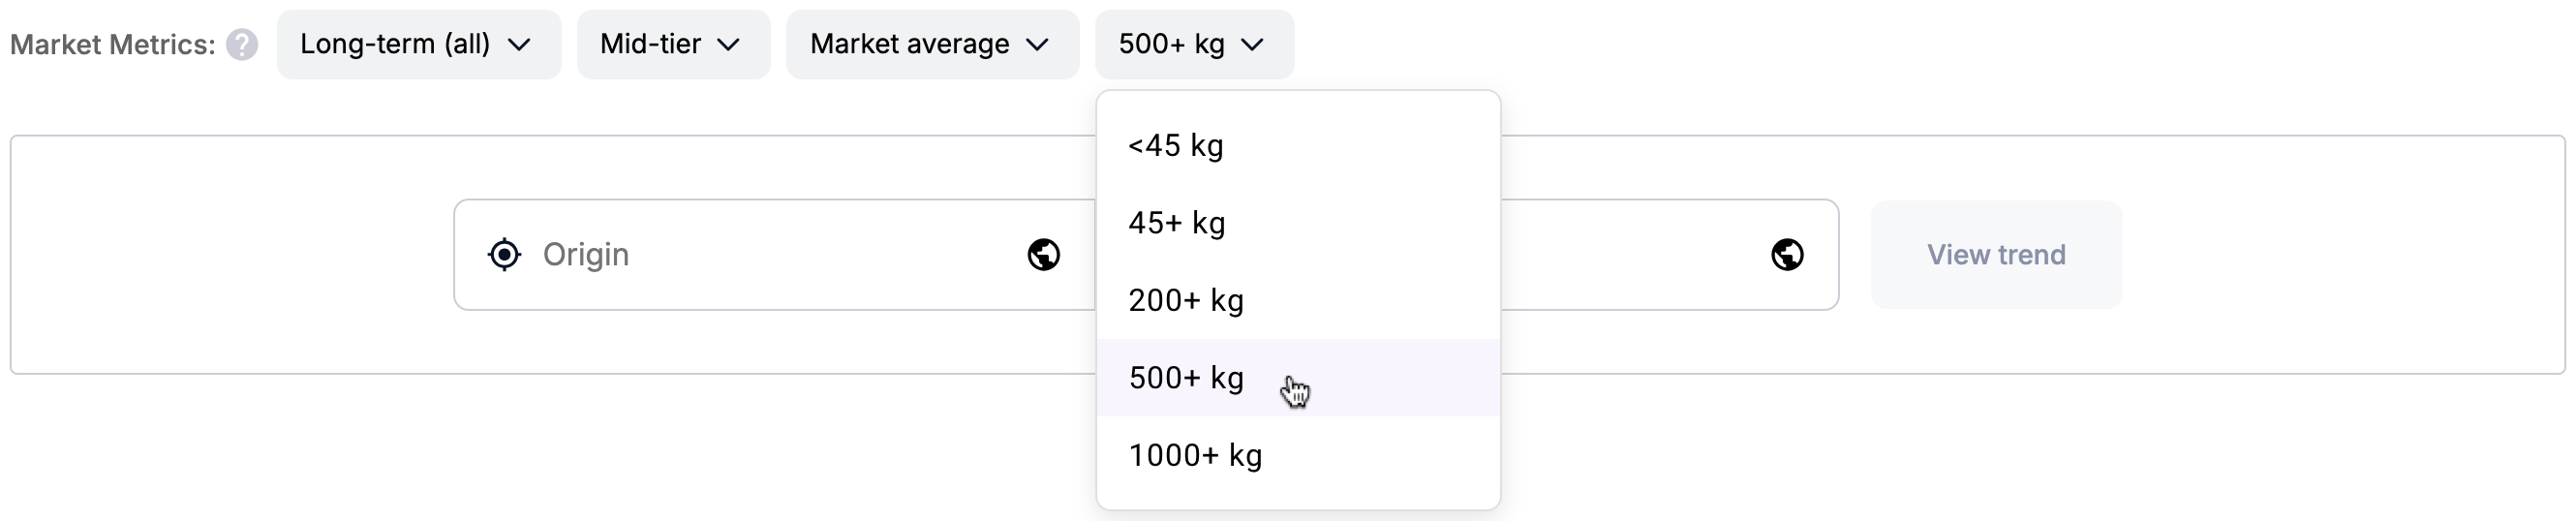
Step 5. Select weight category
Click on the last filter to select the Weight category so you can see the closest market rate based on the volume you want to ship on a given trade lane.
Now simply enter the Origin and Destination airports and hit View trend — the resulting rate will take all the Market metrics you have previously selected into account:
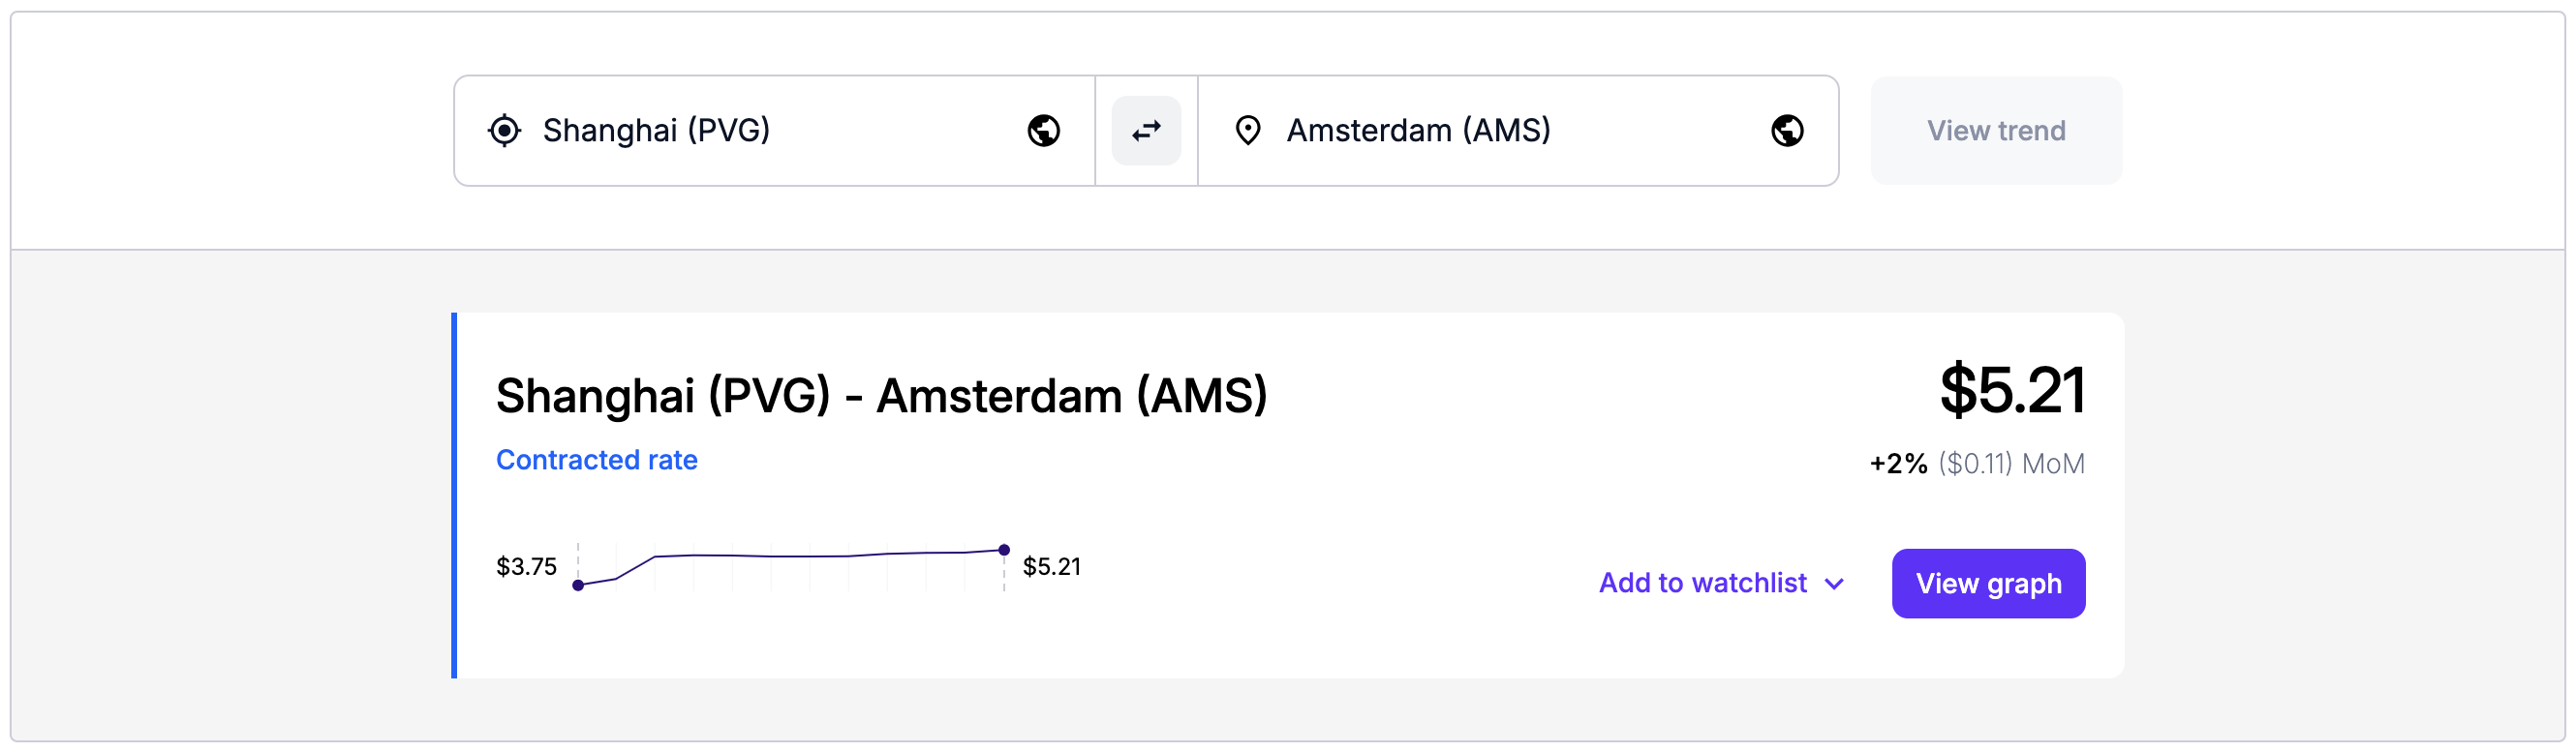
You can adjust the metrics after performing a search, which will update the search results.
Updated 4 months ago