How to upload your rate sheet
This quick guide will walk you through uploading your rate sheet to Integrated Rate Management (IRM).
Prerequisites
- You must have IRM enabled for your company (contact your Customer Success Manager for access)
- You need full access permissions (upload requires full access, not read-only)
- Your rate data must be in the Xeneta rate sheet template (download here)
Preparing your Xeneta rate sheet
Step 1. Download and open the rate sheet template
Simply download the Xeneta rate sheet template from the link above, open it in Microsoft Excel, and review the template's structure and column headers.
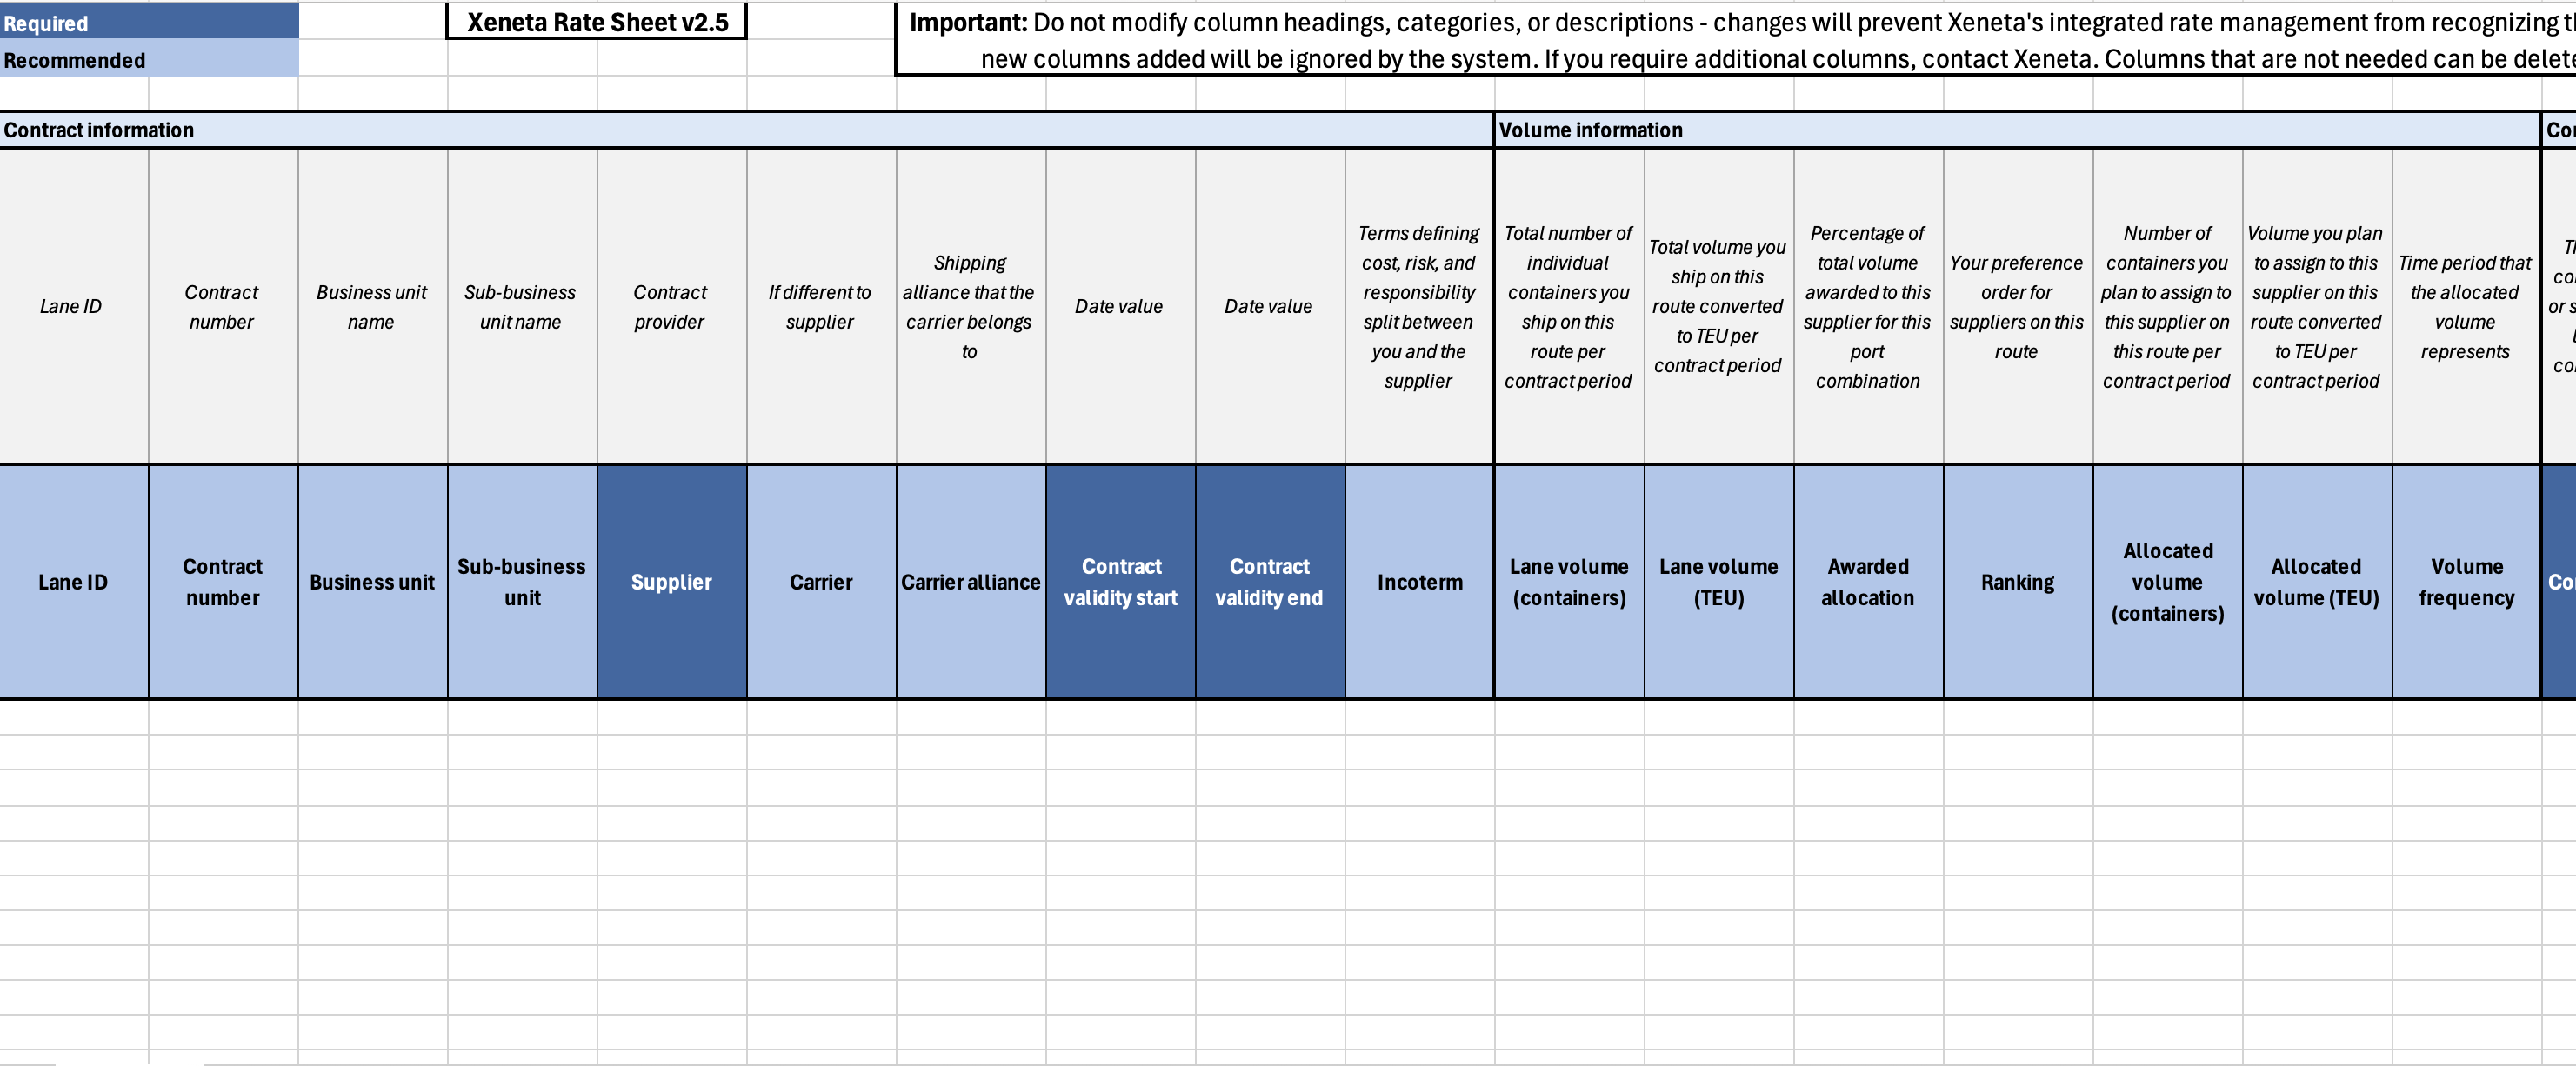
Step 2. Complete mandatory fields
Enter the following required information for each rate:
| Field | Example |
|---|---|
| Contract number | 1234 or CTR_1234 - both letters and numbers are accepted |
| Supplier name | Carrier A |
| Port of loading | Name or code e.g. CNSGH or Shanghai |
| Port of discharge | Name or code e.g. NLRTM or Rotterdam |
| Container type | e.g. 20DC, 40DC, 40HC, 20RF, 40RH, 20TK, 45DC, 20PW, 40PW, 20OT, 20FR, 40NOR, LCL (less than a container load) |
| Contract validity start | YYYY-MM-DD |
| Contract validity end | YYYY-MM-DD |
| Ocean rate currency | Three letter currency code e.g. EUR |
| Ocean rate | $1,300 |
| OTHC included in ocean rate | Y |
| DTHC included in ocean rate | N |
Please note: any columns you add manually will not show in Integrated Rate Management.
To add new columns or fields, please contact Xeneta to request these.
Step 3. Add currency and surcharge information
Please add any other applicable charges, including: surcharges (e.g. BAF, PSS, CAF, etc.), terminal handling charges, pre-carriage charges, and on-carriage charges for example.
Once you add a charge, you must supply the currency and unit measurement information too.
Important to note: where your surcharge has validity period different to the contract validity, include this in the 'validity start' and 'validity end' of that surcharge e.g. YYYY-MM-DD in "Destination fuel validity start".
Step 4. Review your data
Ensure all required fields are completed and save your rate sheet.
Remember: leave any columns blank that do not apply to your rates.
Xeneta’s Integrated Rate Management is designed to work flexibly with your data, so any empty columns will be ignored. Simply only populate the fields that are relevant to you, and the system will handle the rest.
Uploading process
Step 1. Navigate to Integrated Rate Management
Log into your Xeneta account and choose Your rates > Upload rates.
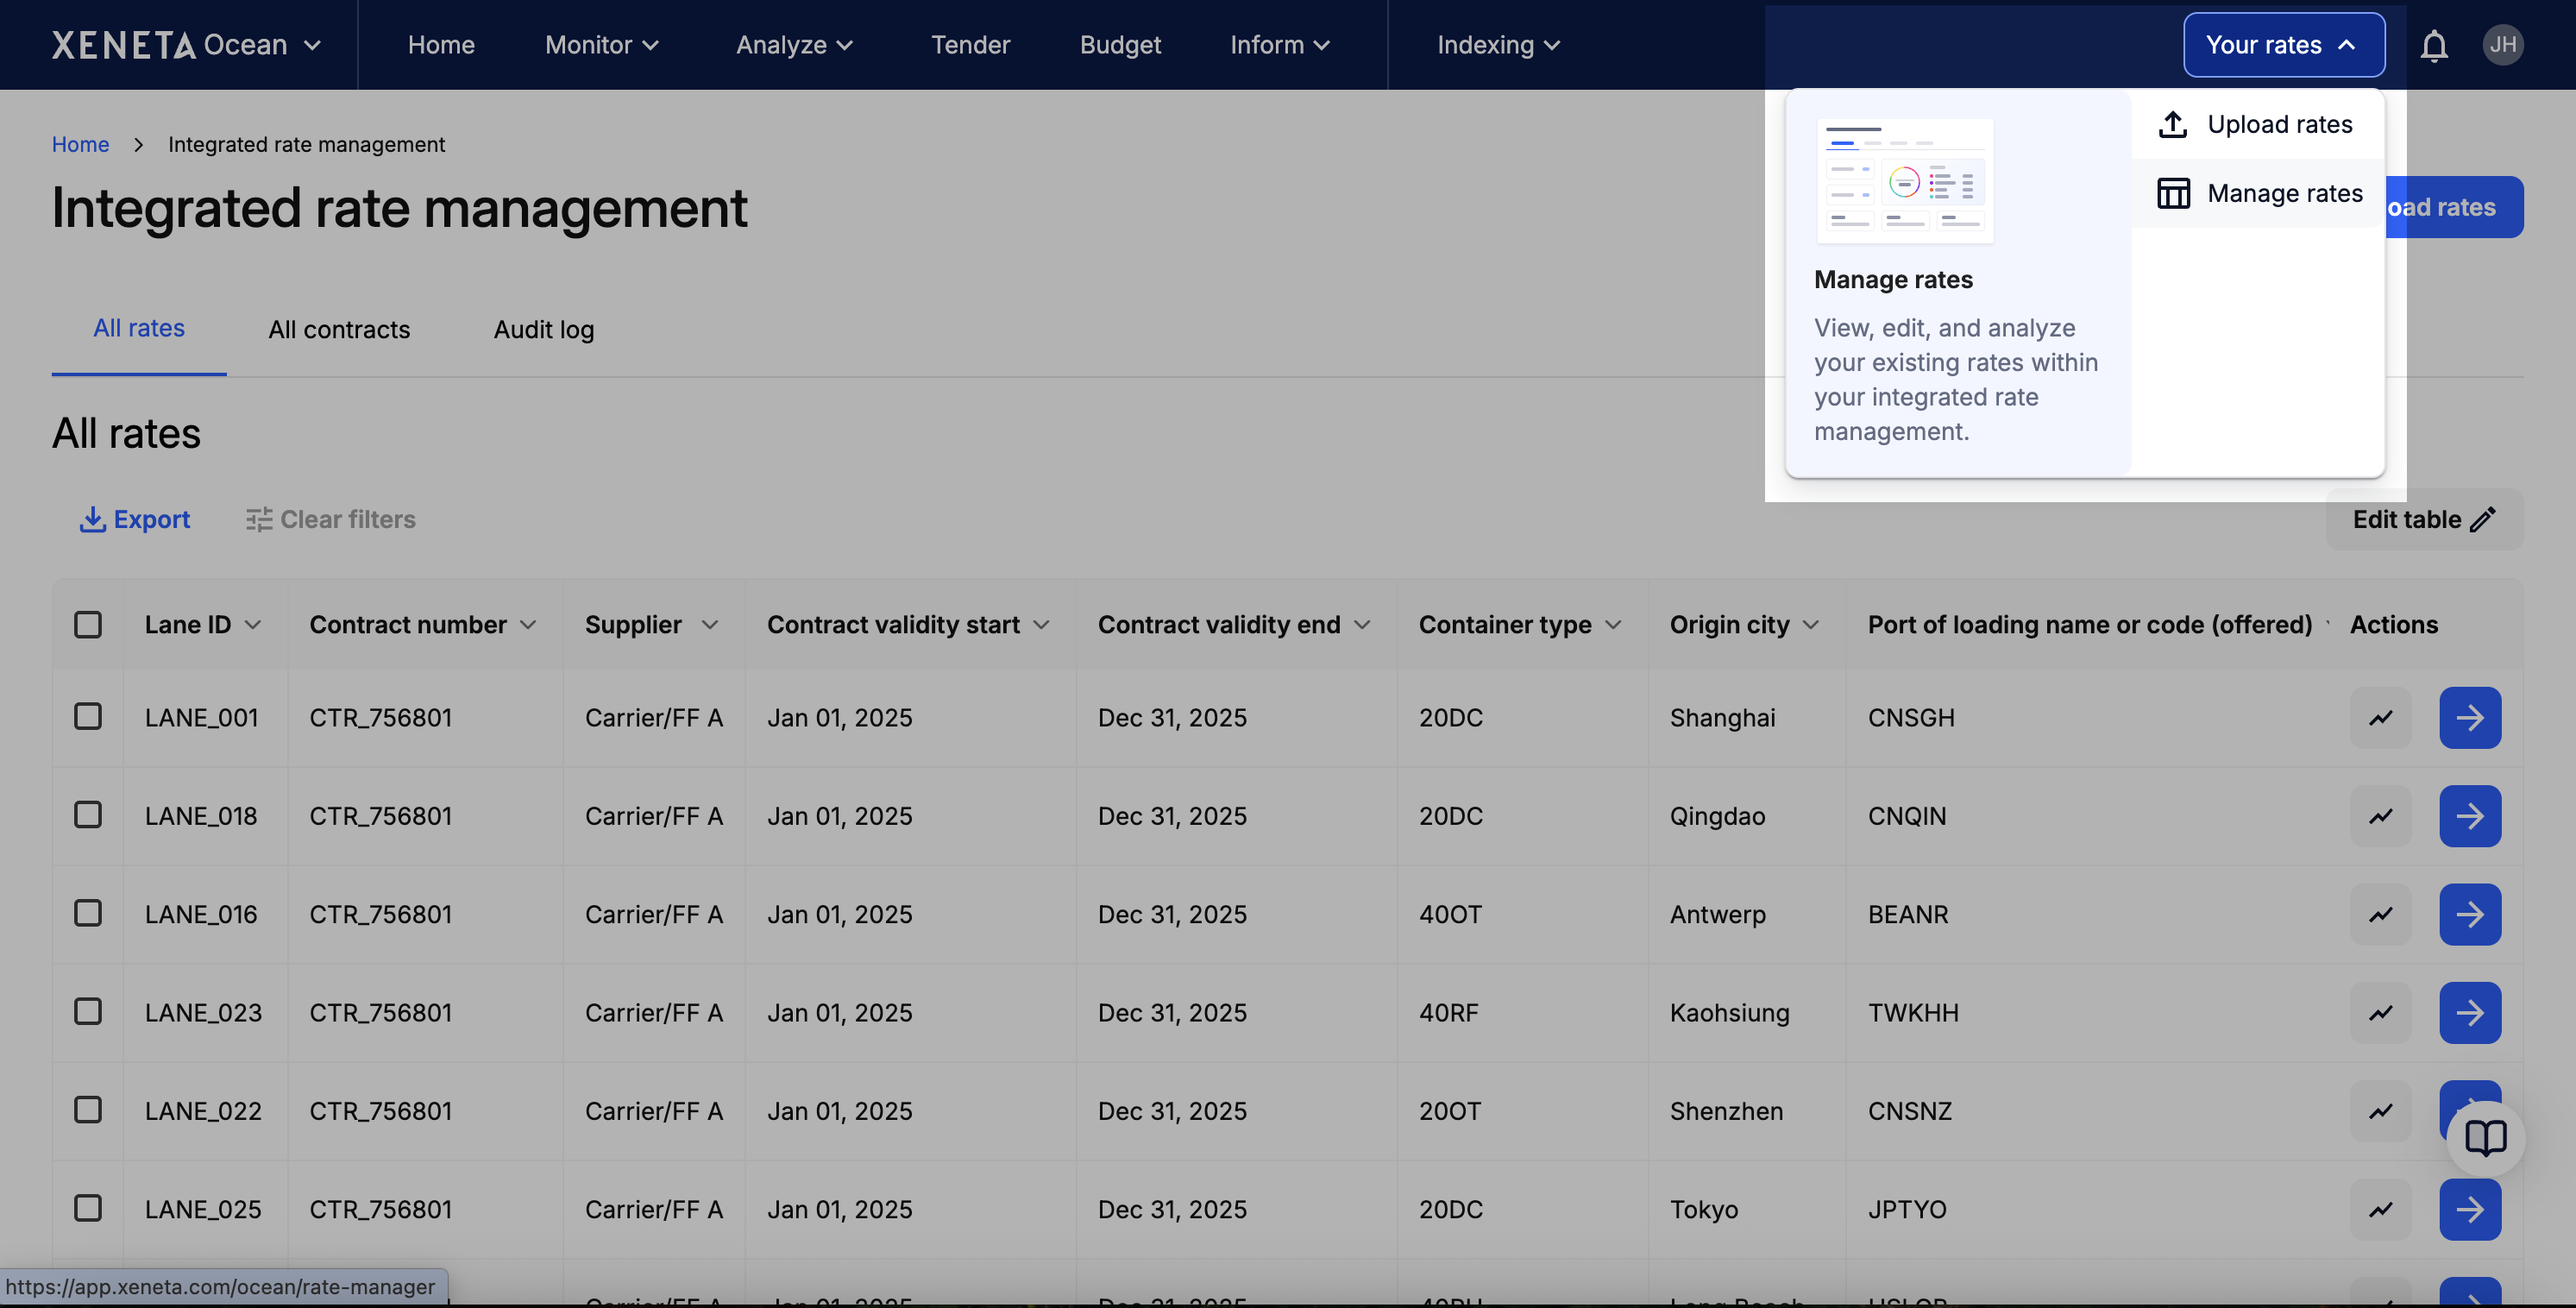
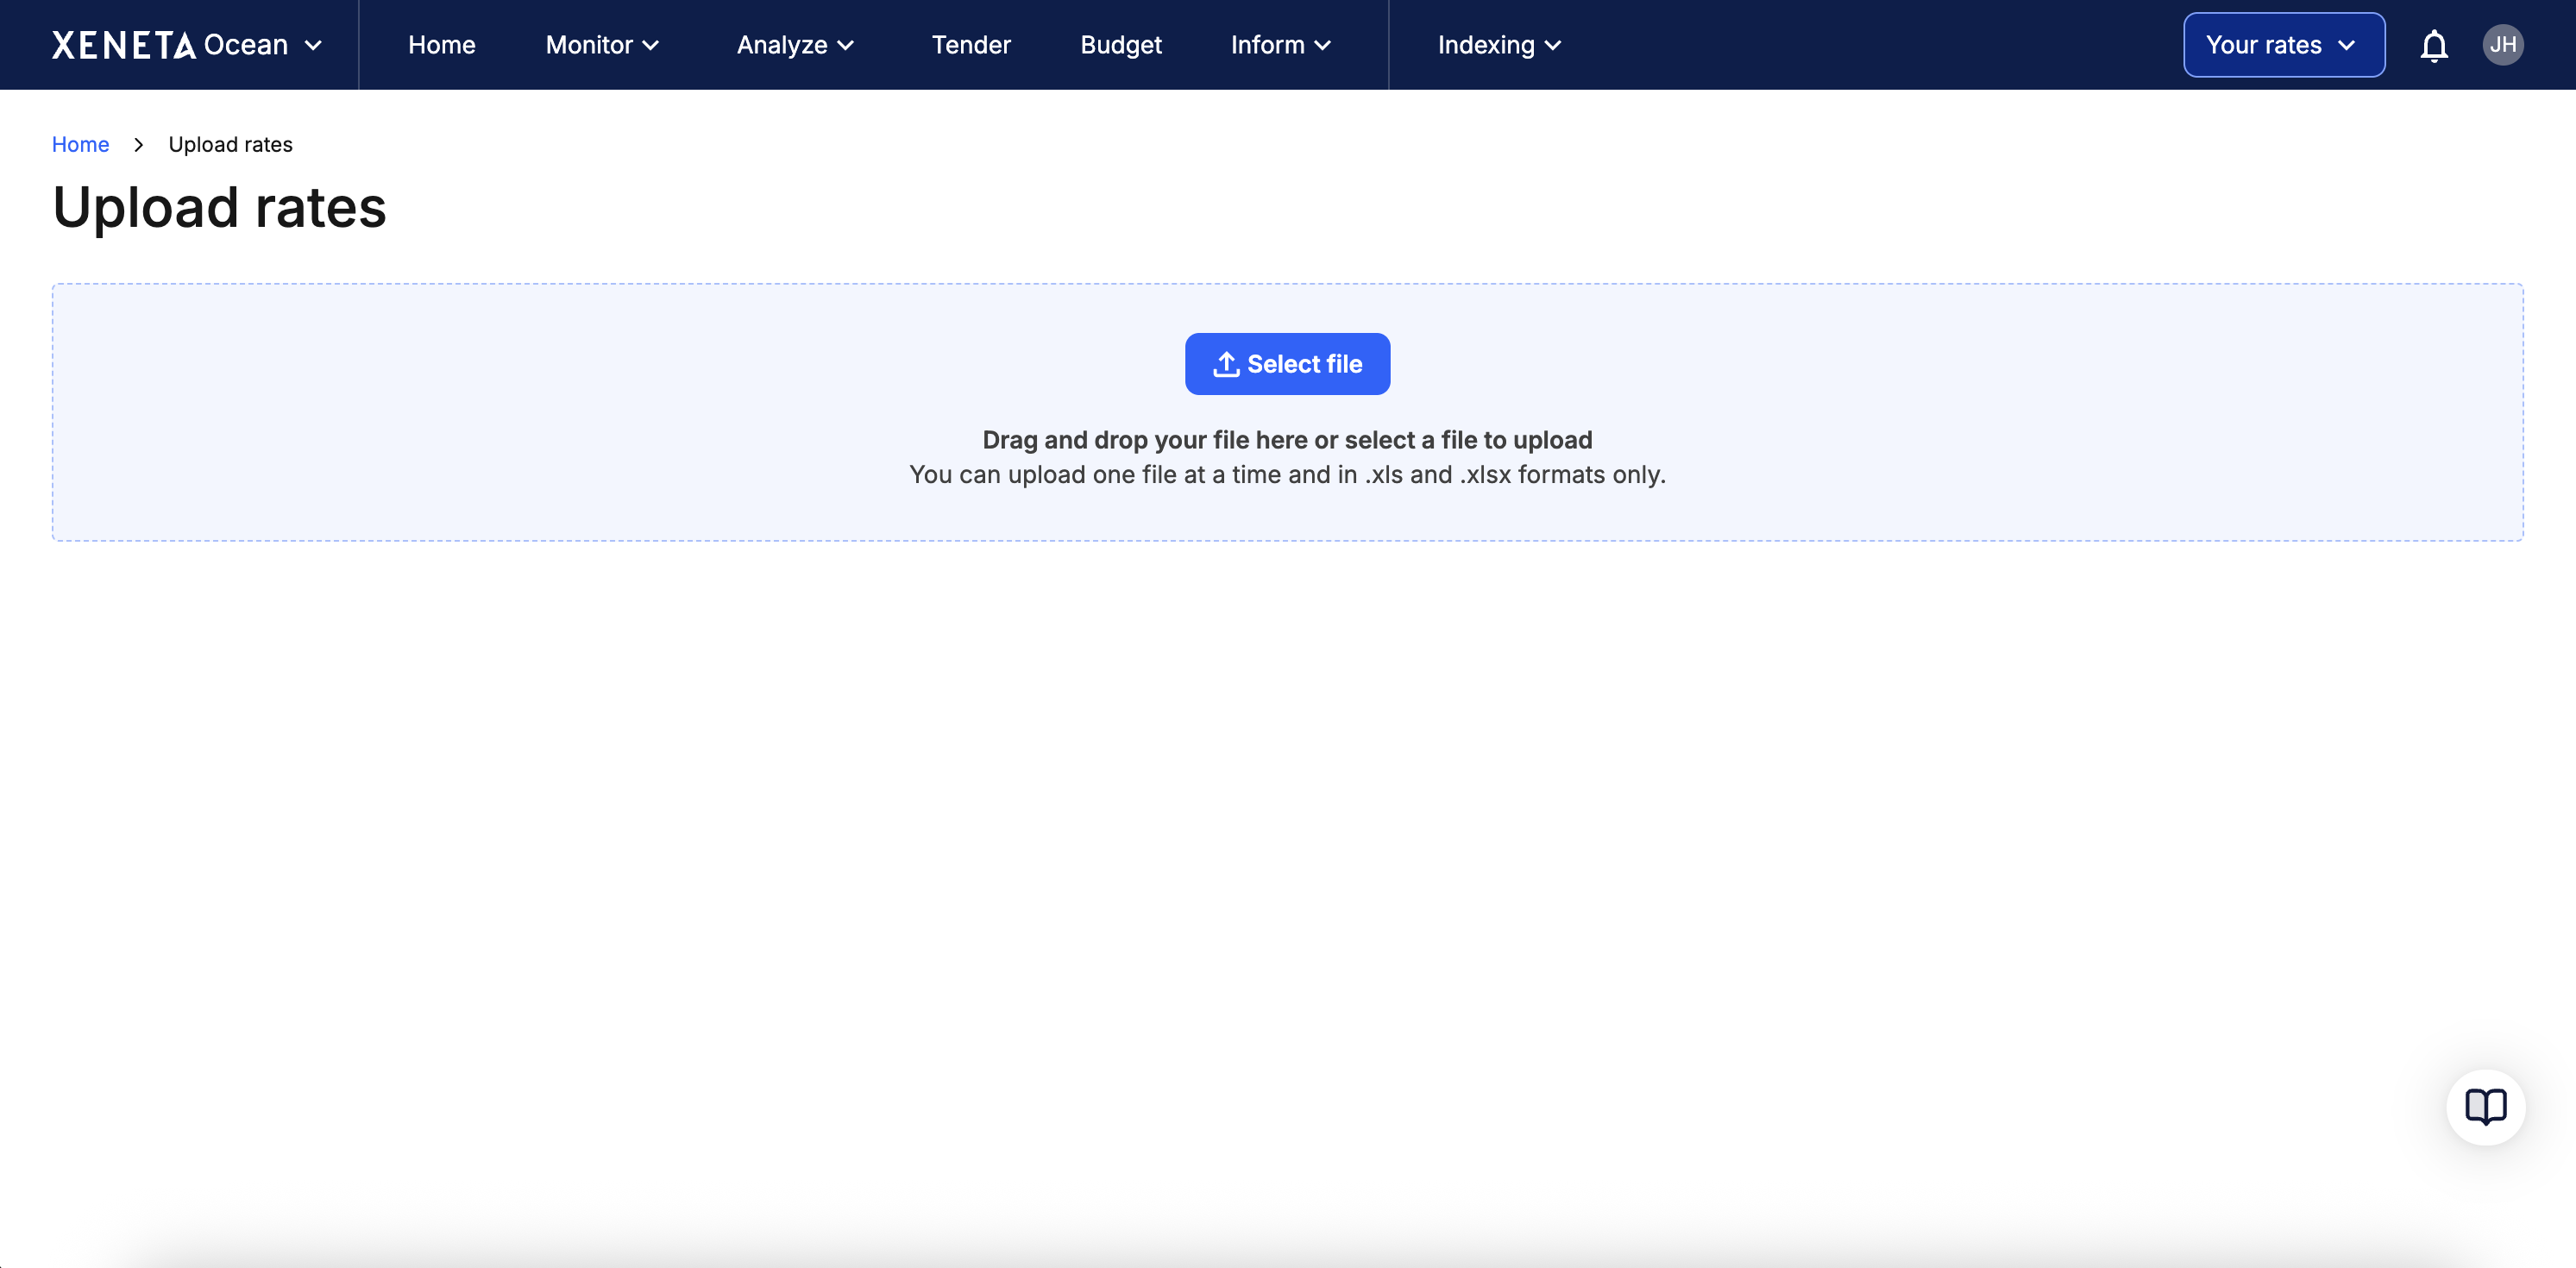
Step 2. Upload your file
Click Select file and select your completed Xeneta rate sheet file (or drag and drop your file).
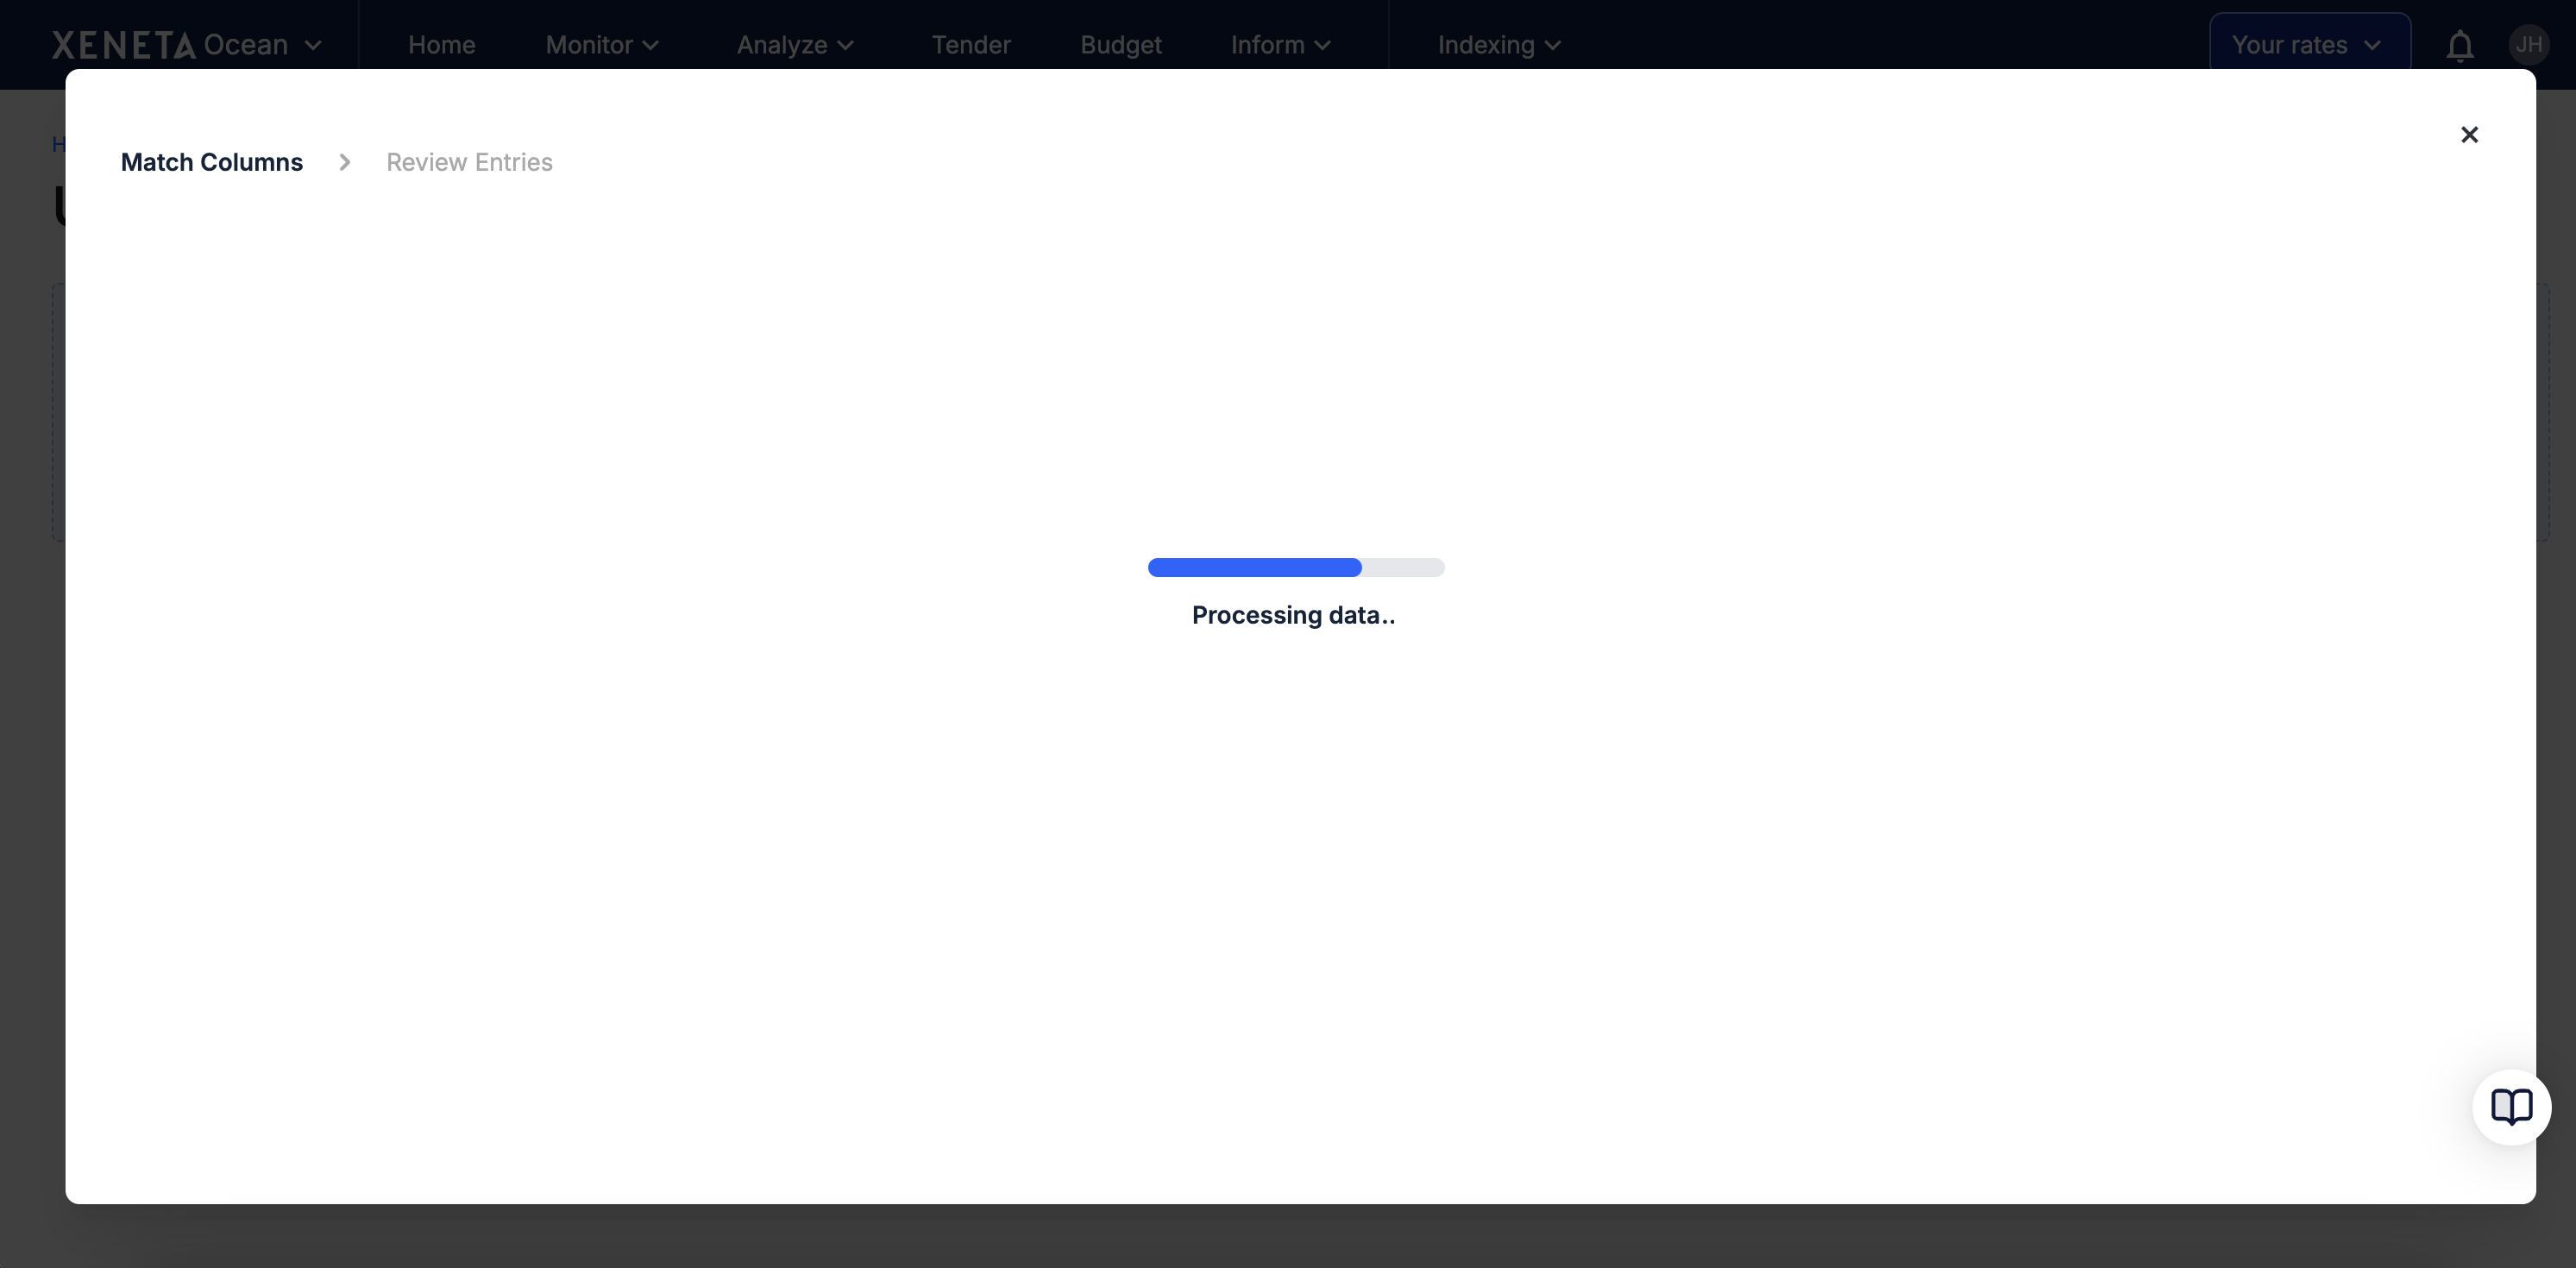
When you upload your rate sheet, Integrated Rate Management performs comprehensive automatic validation to ensure data quality and system compatibility. This process helps maintain data integrity across the platform.
For further information about the validation process, learn more here.
If you would like a step-by-step guide on how to correct your validation issues, learn more here.

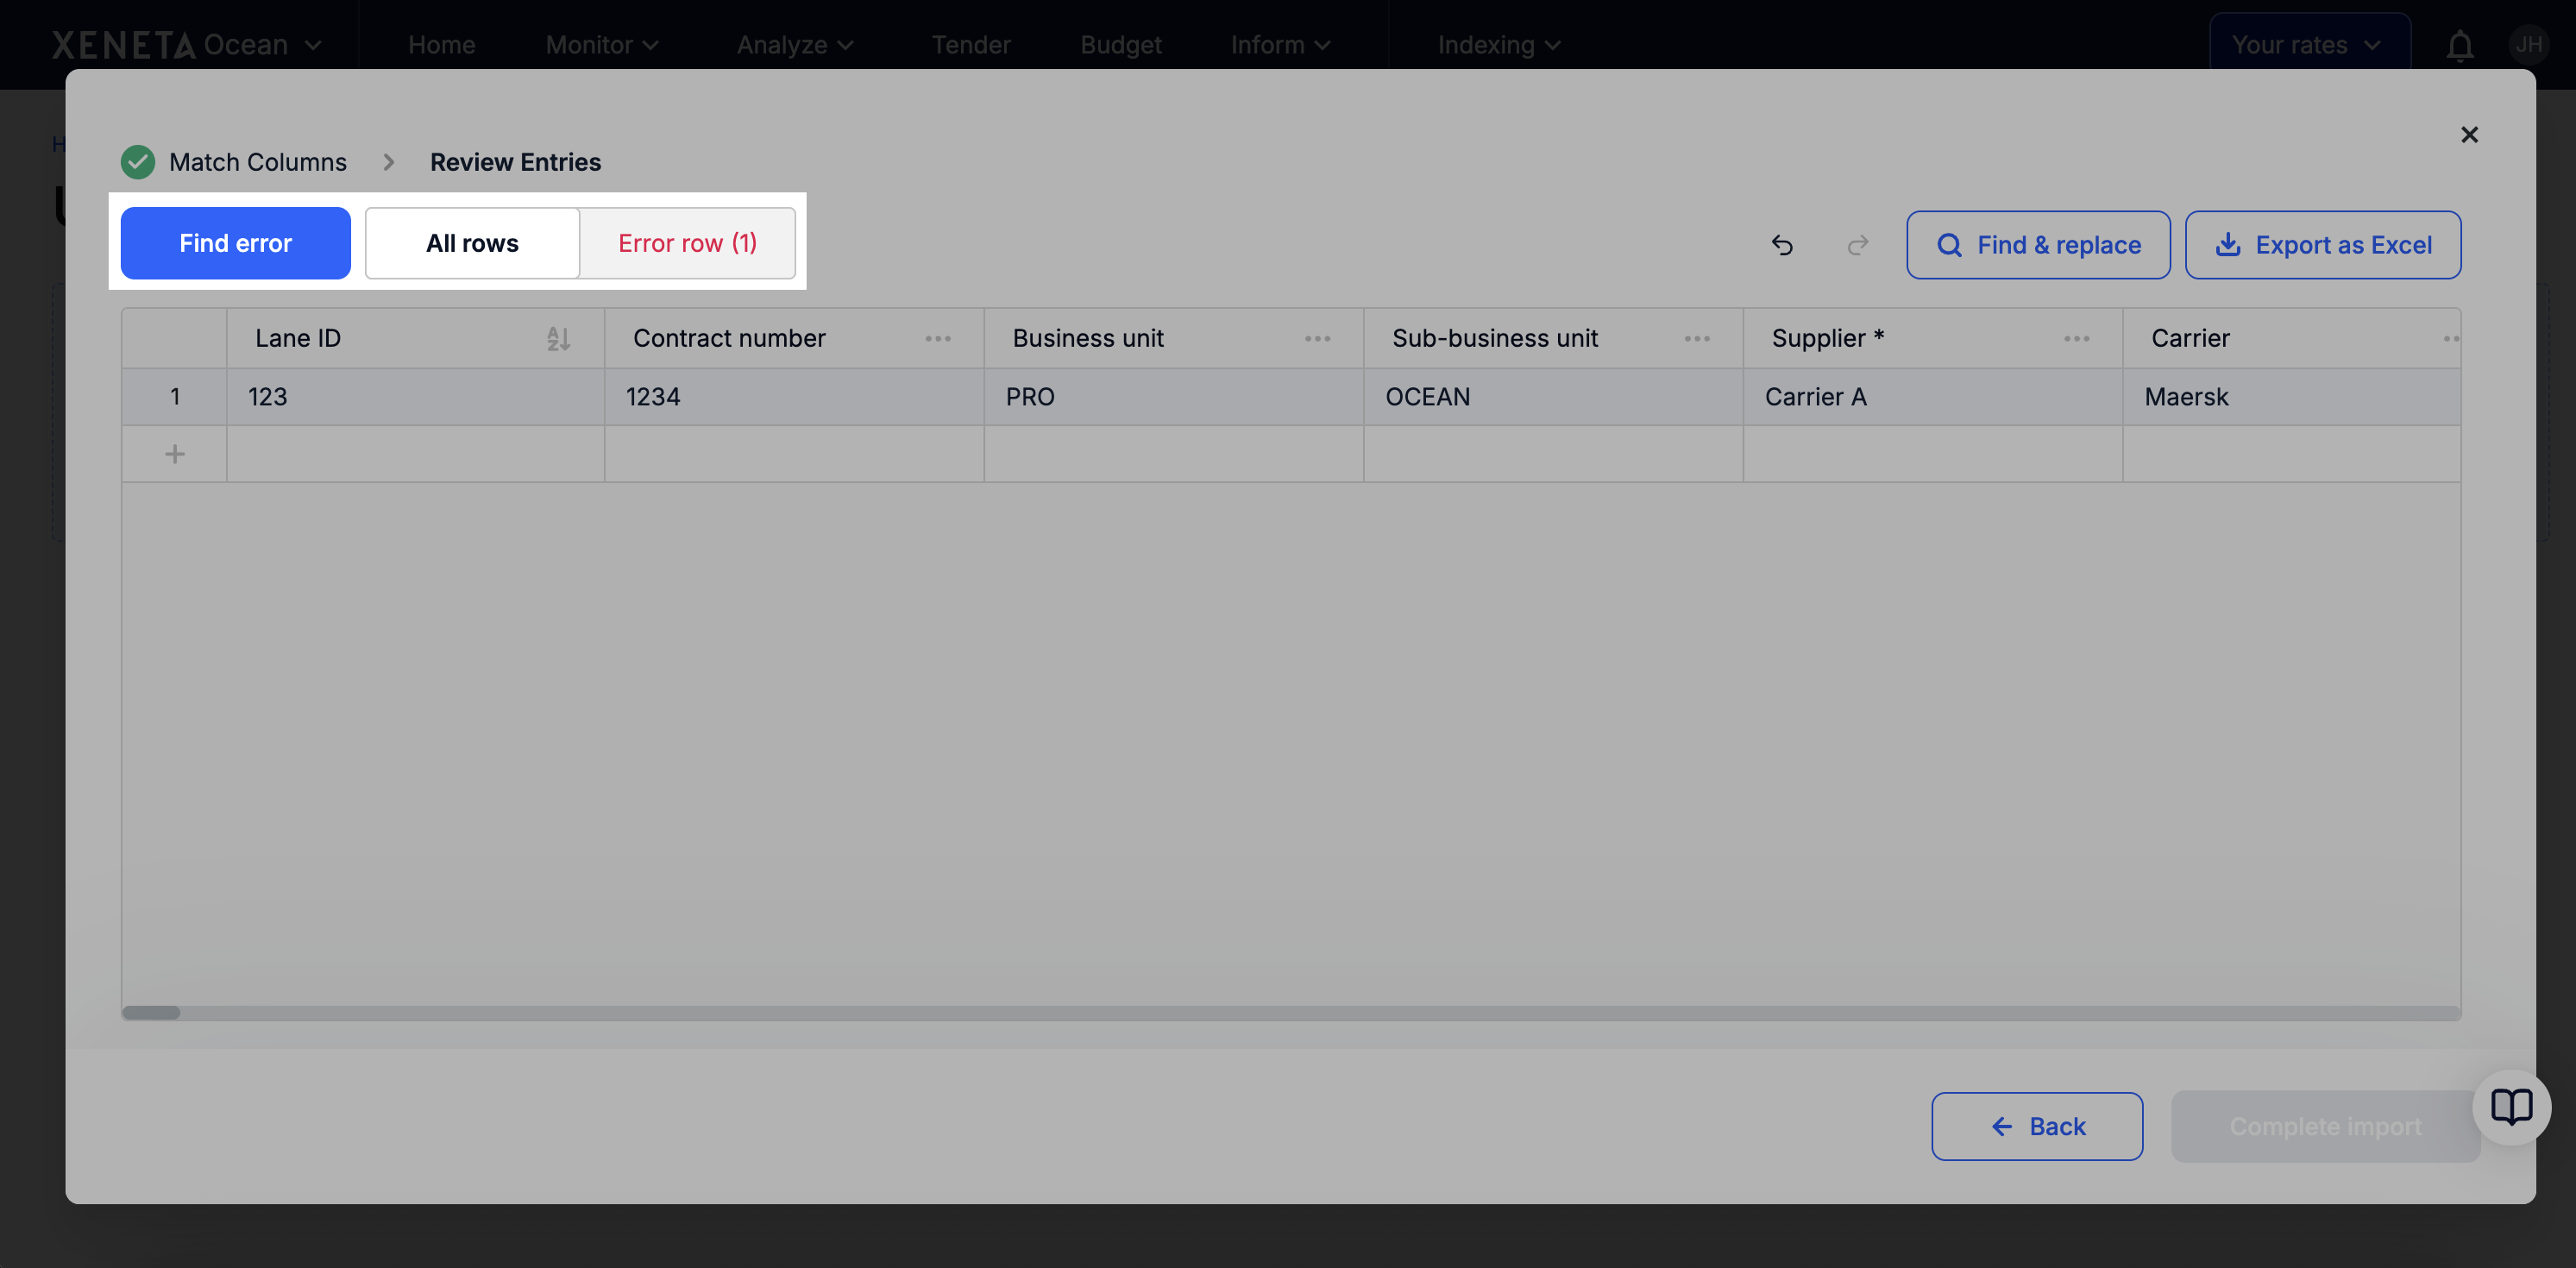
If you have an error, the system will let you know.
Simply click the 'Find error' button and it will take you to the cell that needs rectifying.
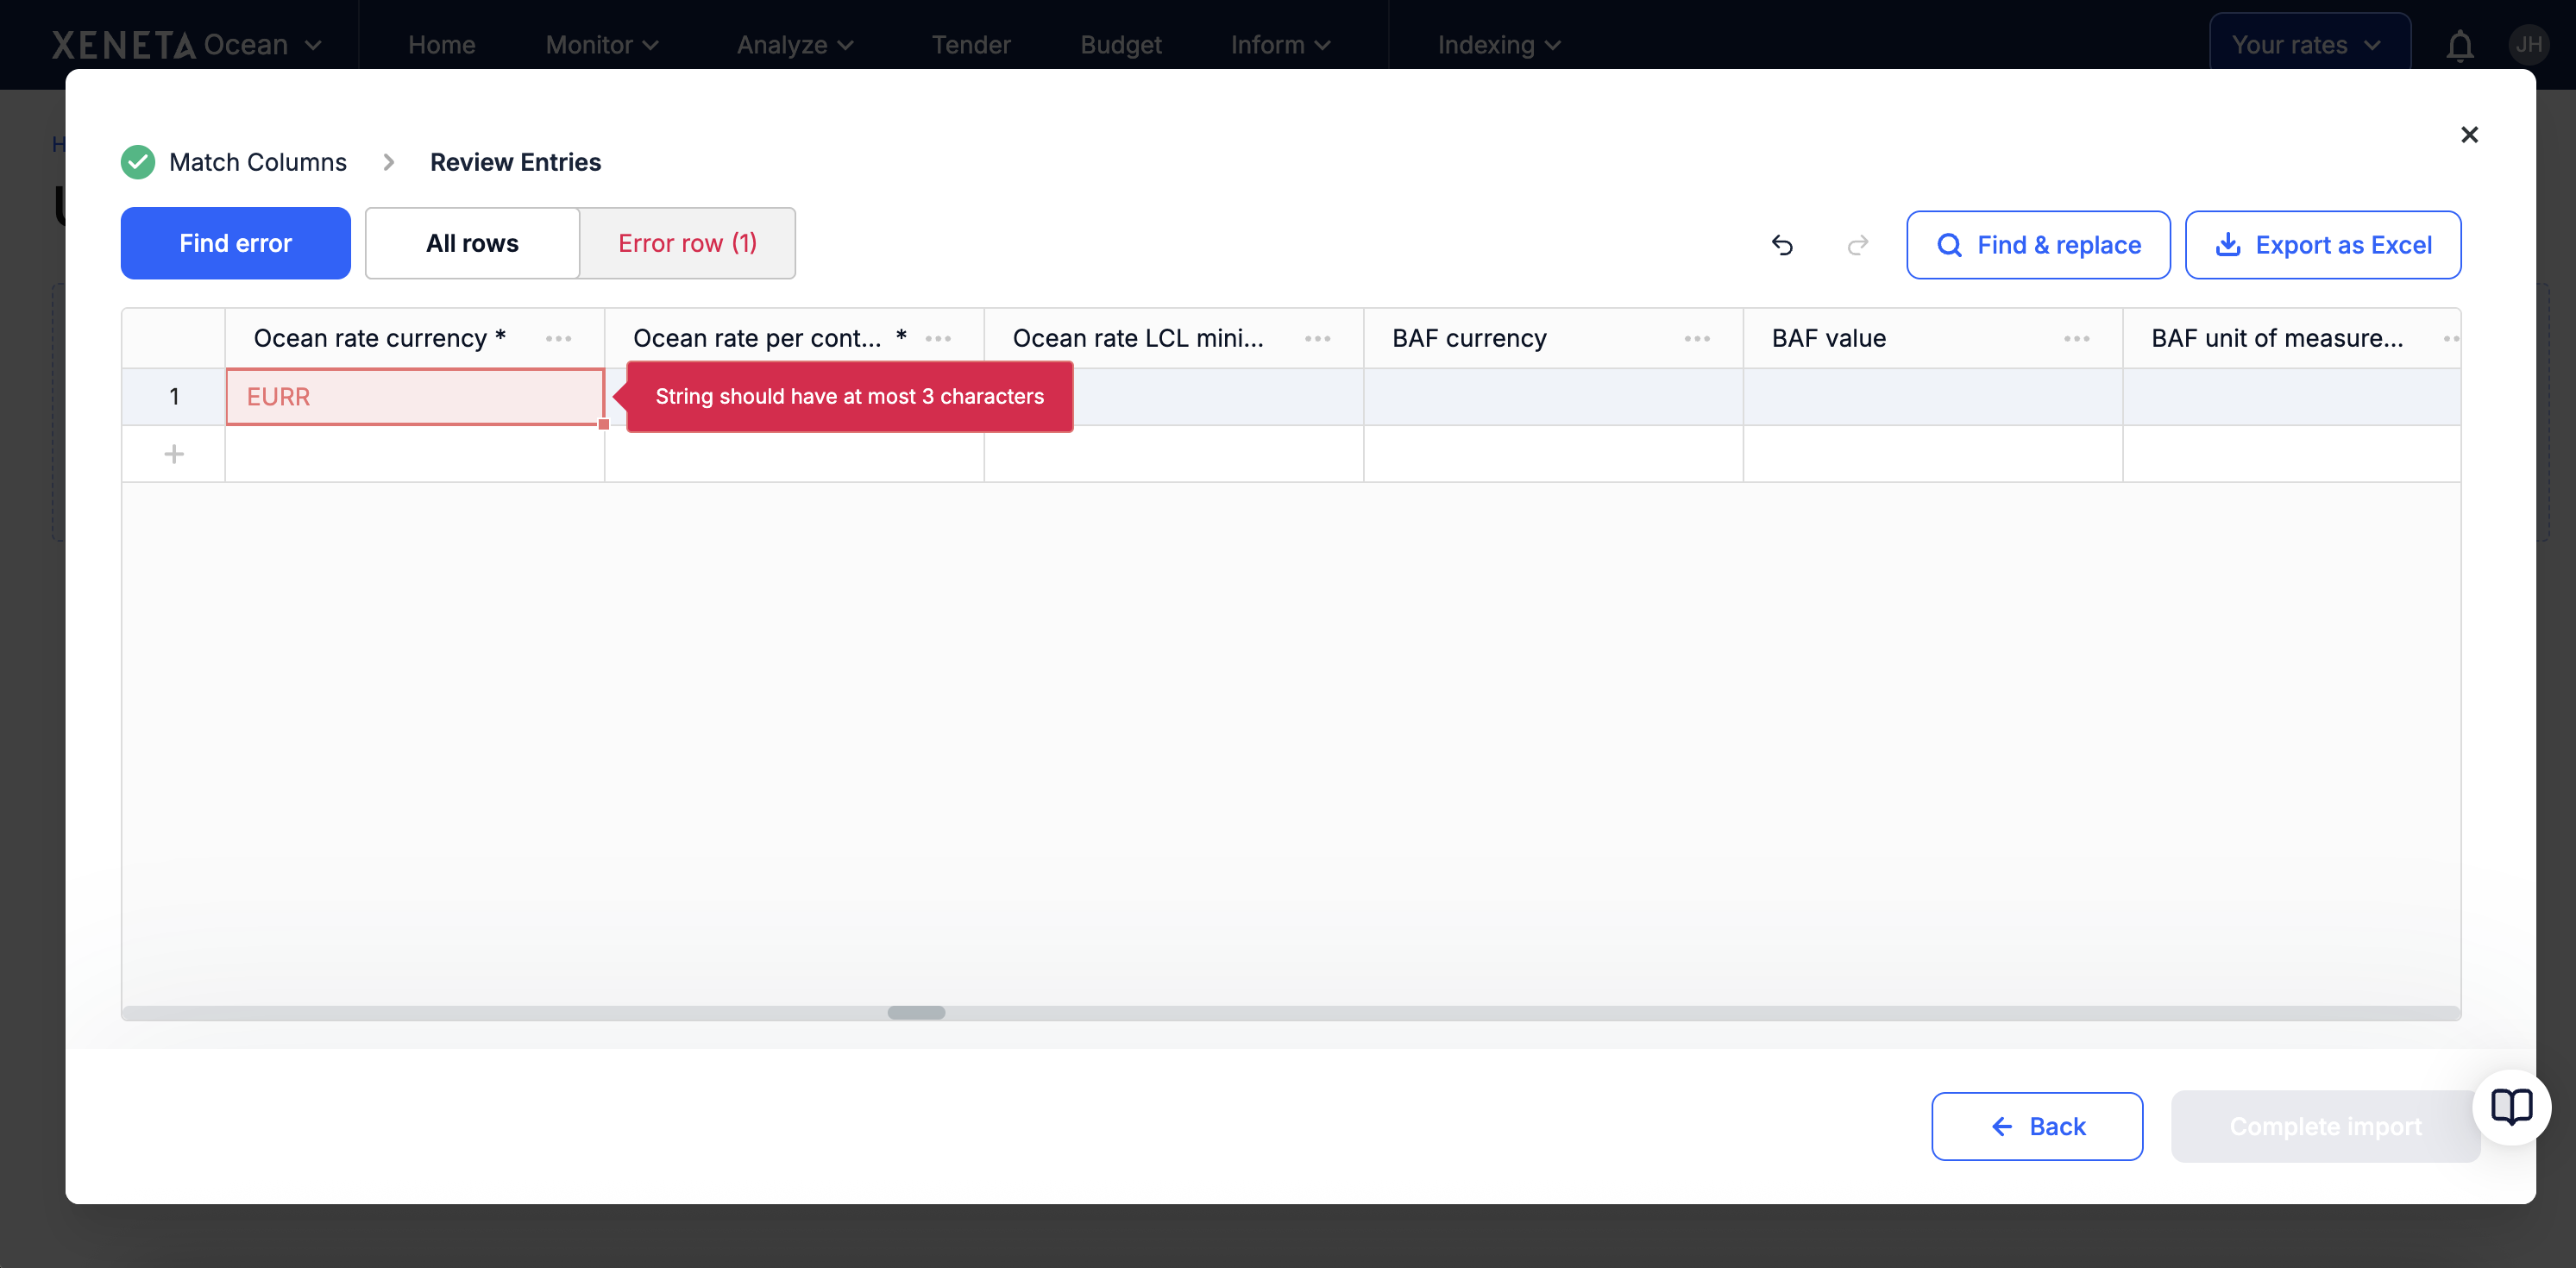
If you have an error, edit directly within the table to correct the mistake.
Simply press 'enter' to save the change, and the validation status updates immediately.
If you have multiple errors, we recommend using the 'Find & replace' tool. Learn more here.
Once you've resolved your errors, then click 'Complete import' to finish the uploading process.

Updated 5 months ago